دليل بناء إطار FPV: سماكة الذراع وثقوب CNC والترتيب
الهندسة ومسافة الحافة وUD مقابل twill للأذرع ونصائح CNC المصنع — قائمة التحقق قبل قطع إطار FPV كربوني.
أُعد هذا الدليل التقني بواسطة فريق الهندسة في MASTERMATE بناءً على خبرتنا في اختيار مواد ألياف الكربون، وتصنيع المركبات، والتشغيل الآلي CNC، وإنتاج OEM/ODM.
هذا الدليل رفيق عملي لمقال المواد — يتخطى سؤال «لماذا الكربون» ويذهب مباشرة إلى الهندسة والترتيب وقرارات التجميع التي تحوّل لوح CFRP إلى إطار جاهز للطيران. إن كنت تخطط لأول بناء FPV أو توسّع علامة إطارات صغيرة للإنتاج، كل قسم أدناه نقطة تحقق قبل أي رقائق.
الهندسة أولاً: motor-to-motor وتخطيط stack
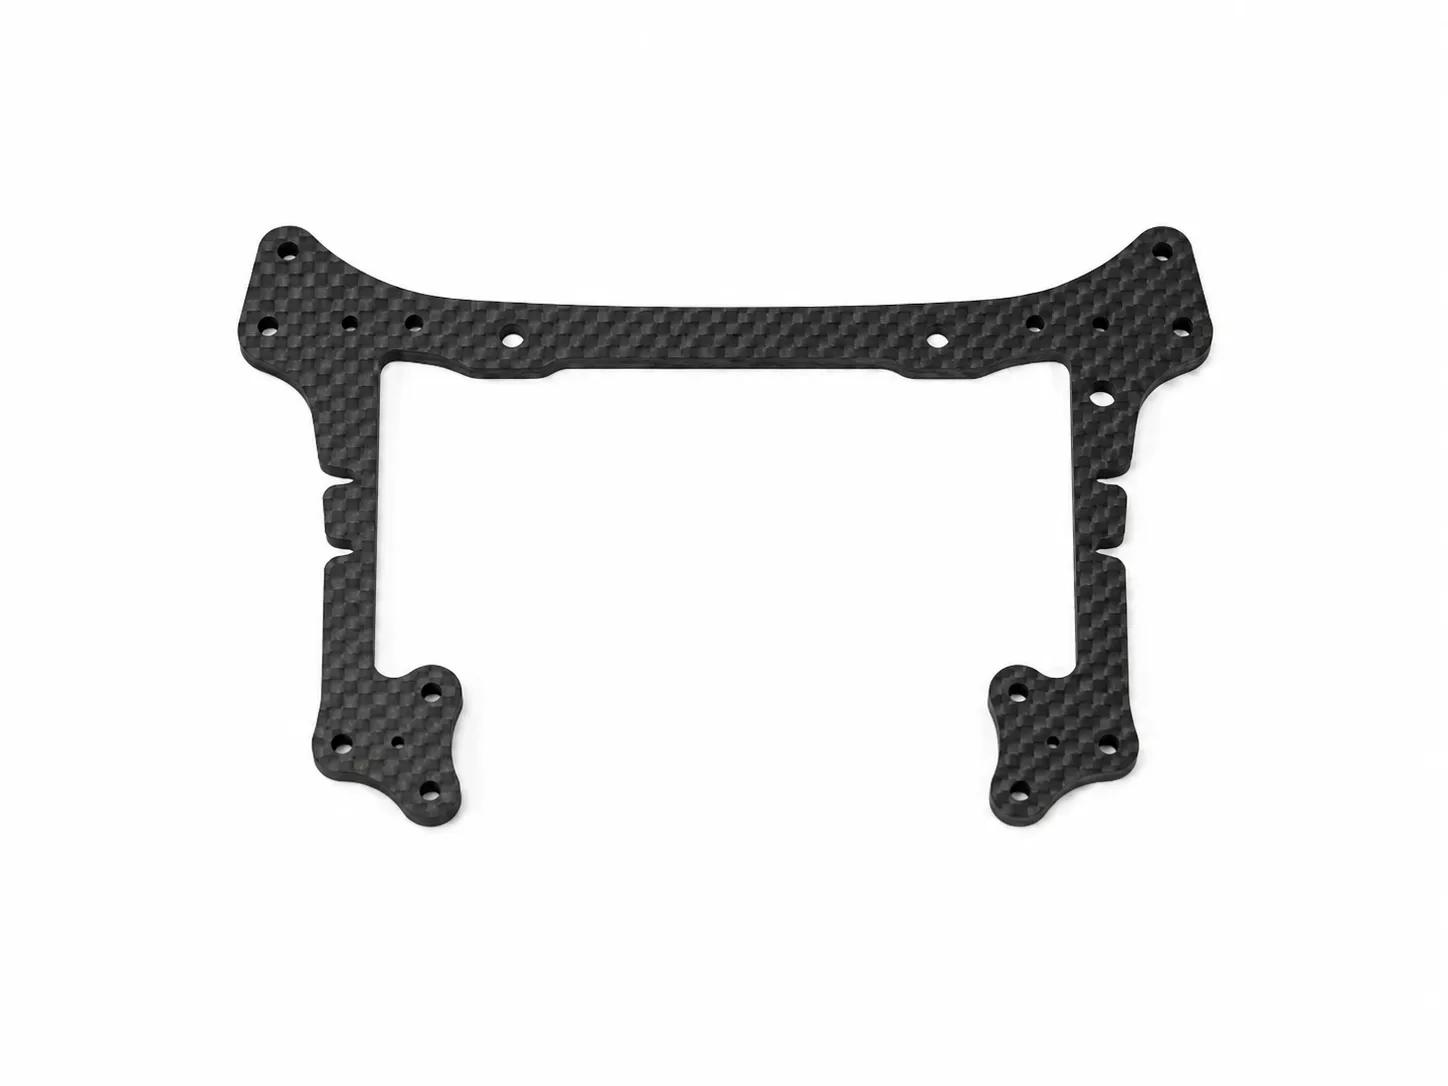
تصميم الإطار يبدأ برقمين: قطر motor-to-motor (يحدد حجم المروحة) وارتفاع stack (يقيّد FC وESC وVTX). أخطأت فيهما والبناء لا يُصلح؛ أصبت والباقي مجرد ضبط CNC [1].
| الفئة | Motor-to-motor | حجم المروحة | الاستخدام النموذجي |
|---|---|---|---|
| Tinywhoop | 60–85 mm | 31–40 mm (ducted) | رحلة داخلية، مبتدئ |
| Toothpick | 110–150 mm | 2.5–3.5 inch | داخلي / خارجي خفيف |
| CineWhoop | 160–200 mm (ducted) | 2.5–3 inch (ducted) | سينمائي داخلي |
| سباق 5 inch | 210–225 mm | 5 inch | سباق + freestyle |
| Long-range | 260–315 mm | 6–7 inch | رحلة، استكشاف FPV |
| Cinelifter | 350–500 mm | 8–10 inch | سينما احترافية (حمولة RED، BMPCC) |
تصميم الذراع: حيث يبرز الترتيب
الأذرع تتحمل أعلى أحمال دورية على quad. لوح twill صافٍ يعمل، لكن ترتيب unidirectional على محور الحمل يخفّض وزن الذراع 25–30% عند صلابة مكافئة. المقايضة استجابة أكثر هشاشة للصدمات الجانبية — مناسب لأذرع السباق، أقل مثالية لـ freestyle من كل الاتجاهات.
ثقوب التركيب وstandoffs والقاتل الصامت
ألواح الكربون تفشل عند الثقوب لا في المساحة المفتوحة. أشيع خطأ DIY: حفر ثقب 4 mm على بعد 4 mm من الحافة — قريب جدًا والصف ينفصل حول المثبت تحت أي حمل جانبي [2].
- دائمًا chamfer أو counter-sink مداخل الثقوب — الحواف الحادة تركز الإجهاد وقد تشقق topcoat.
- استخدم M3 nylon insert lock-nuts على تثبيت المحركات. nylocks عادية ترتخي بالاهتزاز بعد ~50 flight pack.
- لتجميعات stack دائمة، قطرة threadlocker medium-strength (Loctite 243) على كل برغي توفر ساعات من مفاجآت in-flight.
- إن استخدمت captive nuts، ثبّتها بإيبوكسي — صواميل press-fit تفك تحت أحمال دورية.
ميزانية الوزن: أين يذهب كل غرام
بناء سباق 5 inch احترافي ~480 g AUW مع البطارية. معرفة التفصيل تساعدك على اختيار أين تُحسّن أولاً.
| المكون | الوزن | إمكانية التحسين |
|---|---|---|
| الإطار (CFRP) | 95–110 g | التبديل لأذرع UD (−15 g) |
| 4× محركات | 110–140 g | stator أصغر (−20 g، يكلف قدرة) |
| stack FC / ESC | 15–25 g | لوح AIO (−5 g) |
| VTX + هوائي | 6–14 g | VTX fixed-power صغير (−5 g) |
| كاميرا + mount | 10–18 g | DJI O3 air unit (+12 g لكن يستحق) |
| 4× مراوح | 12–18 g | Tri-blade vs five-blade |
| مستقبل | 0.5–3 g | ضئيل |
| بطارية (4S 1300 mAh) | 160–185 g | اختيار خلية واحدة يحدد زمن الطيران |
تسلسل التجميع: قائمة 30 دقيقة
- 1. افحص كل لوحتحت مصباح. ابحث عن انفصال عند الحواف وقصات فائتة عند الثقوب وتشققات سطحية. ارفض أي عيب — أسهل من إزالة اللوح السيئ لاحقًا.
- 2. أغلق حواف القطعCA رقيق على كل حافة CNC. يمنع امتصاص الرطوبة ويوقف تقدم fiber tear-out.
- 3. Dry-fit standoffsأكّد محاذاة الثقوب علوي–سفلي. وسّع الثقوب الضيقة بـ reamer مناسب قبل إجبار البرغي.
- 4. ركّب المحركات بـ threadlockerLoctite 243 أو مكافئ. عزم حسب مواصفات المصنع — عادة 1.5–2.5 Nm لـ M3.
- 5. اِلحم ESC وFC ثم أدخل stackاختبر التشغيل قبل شد stack. إصلاح خطأ لحام أسهل بكثير قبل إغلاق الإطار.
- 6. ما قبل الطيران: اختبار ضغط لطيف لكل ذراعحمّل طرف الذراع يدويًا ~1 kg. استمع للتشقق. أفضل إيجاد عيب على الطاولة لا في الارتفاع.
صلابة الإطار وضبط PID مترابطان
إطار ينحني أثناء punch-out يُدخل تأخير طور في إشارة الجيروسكوب — الضبط يقاتل الهيكل لا الهواء. علامتان أن المشكلة صلابة الإطار لا PIDs: (1) prop-wash جيد لكن rolls «لينة» فوق 80% throttle، (2) قمم ضوضاء gyro ترتبط بموضع throttle لا RPM. أصلح الإطار قبل إعادة الضبط [3].
التوسع: من 10 إطارات إلى 10,000
معظم العلامات تبدأ بقطع 10 نماذج يدويًا على hobby CNC. الاقتصاد يتغير بسرعة — عند 100+ إطار، stack-cutting مجمّع على آلة إنتاج يخفّض العمالة لأقل من $5 للإطار. عند 1,000+، يُستهلك استثمار التثبيت في الدفعة الأولى. Compression molding يدخل الحساب فقط فوق ~5,000 إطار لكل تصميم.
أسئلة شائعة
أسئلة عملية من بناة ينتقلون من نموذج واحد إلى دفعة إنتاج صغيرة.
ما عزم شد براغي M3 stack على إطار CFRP؟
1.0–1.5 Nm لبراغي stack الداخلية (FC/ESC/standoffs)، 1.5–2.5 Nm لتثبيت المحركات. الإفراط في الشد يسحق الصف حول الثقب ويضعفه دائمًا.
هل يمكن حفر ثقوب جديدة في إطار موجود؟
فقط بمثقاب diamond حاد وشريط لاصق على الوجهين وكتلة دعم. دائمًا chamfer ثقب الخروج. تأكد أن الثقب الجديد يحترم قاعدة 2× edge-distance. عند الشك، أعد التصميم للمصنع لإعادة القطع.
لماذا يغطي بعض الطيارين ألواح CNC بإيبوكسي؟
طبقة إيبوكسي رقيقة على السطح (لا الحواف فقط) تخفي micro-scratches وتبطئ تدهور UV. تضيف 2–4 g للإطار وهي اختيارية — معظم إطارات race-class تُشحن بلاها.
ما الحد الأدنى الآمن لسماكة ذراع 5 inch؟
4 mm في ترتيب T700 هو الحد الواقعي لـ race-grade abuse. أذرع 3 mm موجودة لكن تنكسر كثيرًا عند التلامس الشديد. لـ freestyle، 5 mm معيار.
هل يمكن استخدام قاطع ليزر مكتبي على الكربون؟
لا. قطع CFRP بالليزر يطلق غازات خطرة (HCN بينها) ويترك حافة راتنج محترقة أضعف هيكليًا. استخدم CNC router بأدوات diamond وشفط غبار مناسب.
كيف أمنع الاهتزاز من تخفيف المثبتات خلال موسم؟
Loctite 243 (medium-strength) على كل براغي stack والمحركات وقاية معيارية. مع M3 nylon insert lock-nuts على المحركات، لا ينبغي إعادة الشد بين rebuilds.
Sources & Further Reading
- Wikipedia — Aircraft fasteners and edge-distance rules
- NASA Composite Materials Handbook (CMH-17)
- OSHA — Carbon fiber dust handling guidance
- NIOSH — Respiratory protection for composite machining
- Loctite 243 product datasheet
- Toray — Composite Materials prepreg systems
- Betaflight documentation (gyro filtering and PID basics)
- FAI — UAV / FPV racing class regulations
- ASTM D5379 — Iosipescu shear test for composites
- Hexcel — Prepreg processing handbook
- Cyanoacrylate adhesives — properties and edge sealing applications
- CompositesWorld — CNC machining of CFRP
هل تحتاج إلى منتجات ألياف كربون مخصصة؟
يساعد فريقنا الهندسي العلامات التجارية حول العالم على تطوير حلول ألياف الكربون OEM بكميات طلب صغيرة ونماذج أولية سريعة.
اطلب عرض سعر اليوم.